Vanilla Ice Cream
This unbelievably easy 3 ingredient recipe, requires no cooking or churning to produce creamy and decadent vanilla ice cream at home! Just 10 minutes prep before popping in the freezer to set :)

If like most people, you’ve simply bought ice cream all your life, you’re not going to believe how ridiculously easy it is to make it from scratch :) Or just how much better homemade vanilla ice cream tastes!
And you’ll definitely wow your friends and family when you tell them you actually know how to make your own ice cream at home :)
Now you might’ve come across ice cream recipes before that will tell you in order to make perfect homemade ice cream you need to master complicated techniques, cook an egg custard base or use special equipment such as an ice cream machine with a churning function and it all just seemed too hard and not worth the effort. But there’s actually another way of making homemade ice cream - one that isn’t overcomplicated, takes less than 10 minutes in prep time, doesn’t require an ice cream machine and is suitable for even beginner home cooks. AND THE BEST PART…it produces an impeccable ice cream with the perfect flavour and silky smooth texture to rival - or even exceed - any store-bought vanilla ice cream.
So if you prefer to work smarter - not harder - read on and find out how to make the easiest homemade vanilla ice cream!

CONTENTS OF THIS RECIPE POST
I always recommend reading the entire post to get the best understanding of the recipe, helpful tips, information about ingredients, storage advice etc. Here’s a look at what topics are included in this recipe post :)
WHAT INGREDIENTS GO INTO HOMEMADE VANILLA ICE CREAM?
Thickened Cream a.k.a Heavy Cream
The key to this no-churn ice cream’s perfectly smooth and creamy consistency is thickened cream. Or to be more precise, how you incorporate the thickened cream. Churning refers to the stirring of ice cream as it freezes - a task normally performed by an ice cream machine (which contains chilled walls and a mixing paddle) to incorporate air and make the ice cream lighter, giving it that wonderful texture. However, the same result can be achieved in this recipe by simply whipping thickened cream. Whipping the thickened cream before combining it with the other ingredients performs the same action of incorporating air and lightness into the ice cream mixture, no machine required!
Sweetened Condensed Milk
No sugar is needed in this recipe since the condensed milk already adds the sweetness needed to round out the classic flavour of this vanilla ice cream.
Vanilla Extract
This one hardly needs explaining, It wouldn’t be vanilla ice cream without the vanilla!
Plus a pinch of salt. Adding just a little salt can help to accentuate all of these other flavours.
When combined, these ingredients make a beautiful and rich vanilla ice cream!
HOW LONG DOES IT TAKE TO MAKE HOMEMADE VANILLA ICE CREAM?
There’s only 10 minutes of prep time before your ice cream goes into the freezer to firm up - which should take about 6 hours - After that your ice cream will be perfectly scoop-able and ready to enjoy!
EQUIPMENT
There’s no need for bulky or expensive equipment to make this recipe. Just grab:
A mixing spatula OR large stirring spoon
Electric beaters
2 large mixing bowls
FOR STORING YOUR ICE CREAM IN THE FREEZER
I use an airtight glass container with lid.
Including the container you choose to use, you will also need some parchment paper to press against the surface of the ice cream before adding the lid and placing in the freezer, in order to stop any ice crystals from forming on top.
WHY HOMEMADE ICE CREAM IS BETTER THAN STORE-BOUGHT
You might be wondering why you should make your own ice cream at home when you can just buy it at the store? Well here are a few reasons:
To start with, in terms of both flavour and texture, I’d say homemade ice cream is actually better than store-bought. And making your own ice cream means that you avoid the unnecessary added sugars, fats, vegetable oils, glucose syrup, artificial colours, flavours and preservatives that are often found on the ingredients label of store-bought ice creams.
Plus with only 3 ingredients needed to produce a whole batch, making this recipe might even be cheaper than buying ice cream!
Not to mention, this is a fantastic base recipe for customising with different flavours of your choosing.
HOW LONG DOES HOMEMADE ICE CREAM LAST IN THE FREEZER?
Not very long in my house! :) Given the positively delicious nature of this homemade ice cream it tends to run out pretty quickly - especially when my ice cream loving family get their hands on it. BUT it can last for up to 2 months in the freezer or…possibly even longer - though I can’t say for sure since I haven’t ever had a batch that I didn’t finish by that point.
WAYS TO SERVE HOMEMADE VANILLA ICE CREAM
There are many ways that you can serve homemade vanilla ice cream. Some of the best are:
Topped with chocolate sauce
Drizzled with salted caramel sauce
Alongside fresh fruit
Sprinkled with nuts
With biscuits or cookies of your choice crumbled over the top
Or simply…enjoy this indulgent vanilla ice cream all on its own! It’s that good!
RECIPE
VANILLA ICE CREAM
Yield: 3 Pints (6 cups)
Serves: 12
Prep Time: 10 minutes
Chilling Time: 6 hours
Difficulty: Easy / Beginner
Save on socials
INGREDIENTS
2 cups thickened cream a.k.a heavy cream
1 (14oz/395g) can sweetened condensed milk
1 tsp vanilla extract
Pinch of salt
METHOD
In a large bowl, whip cream on medium-high speed until stiff peaks form.
In a medium sized bowl, gently whisk together sweetened condensed milk, vanilla extract and salt, to combine.
Using a rubber spatula or large mixing spoon, add a big scoop of the whipped cream to the condensed milk mixture, and gently fold to combine and lighten the condensed milk mixture. Then add this mixture to the large bowl with the remaining whipped cream and once again, gently fold to combine.
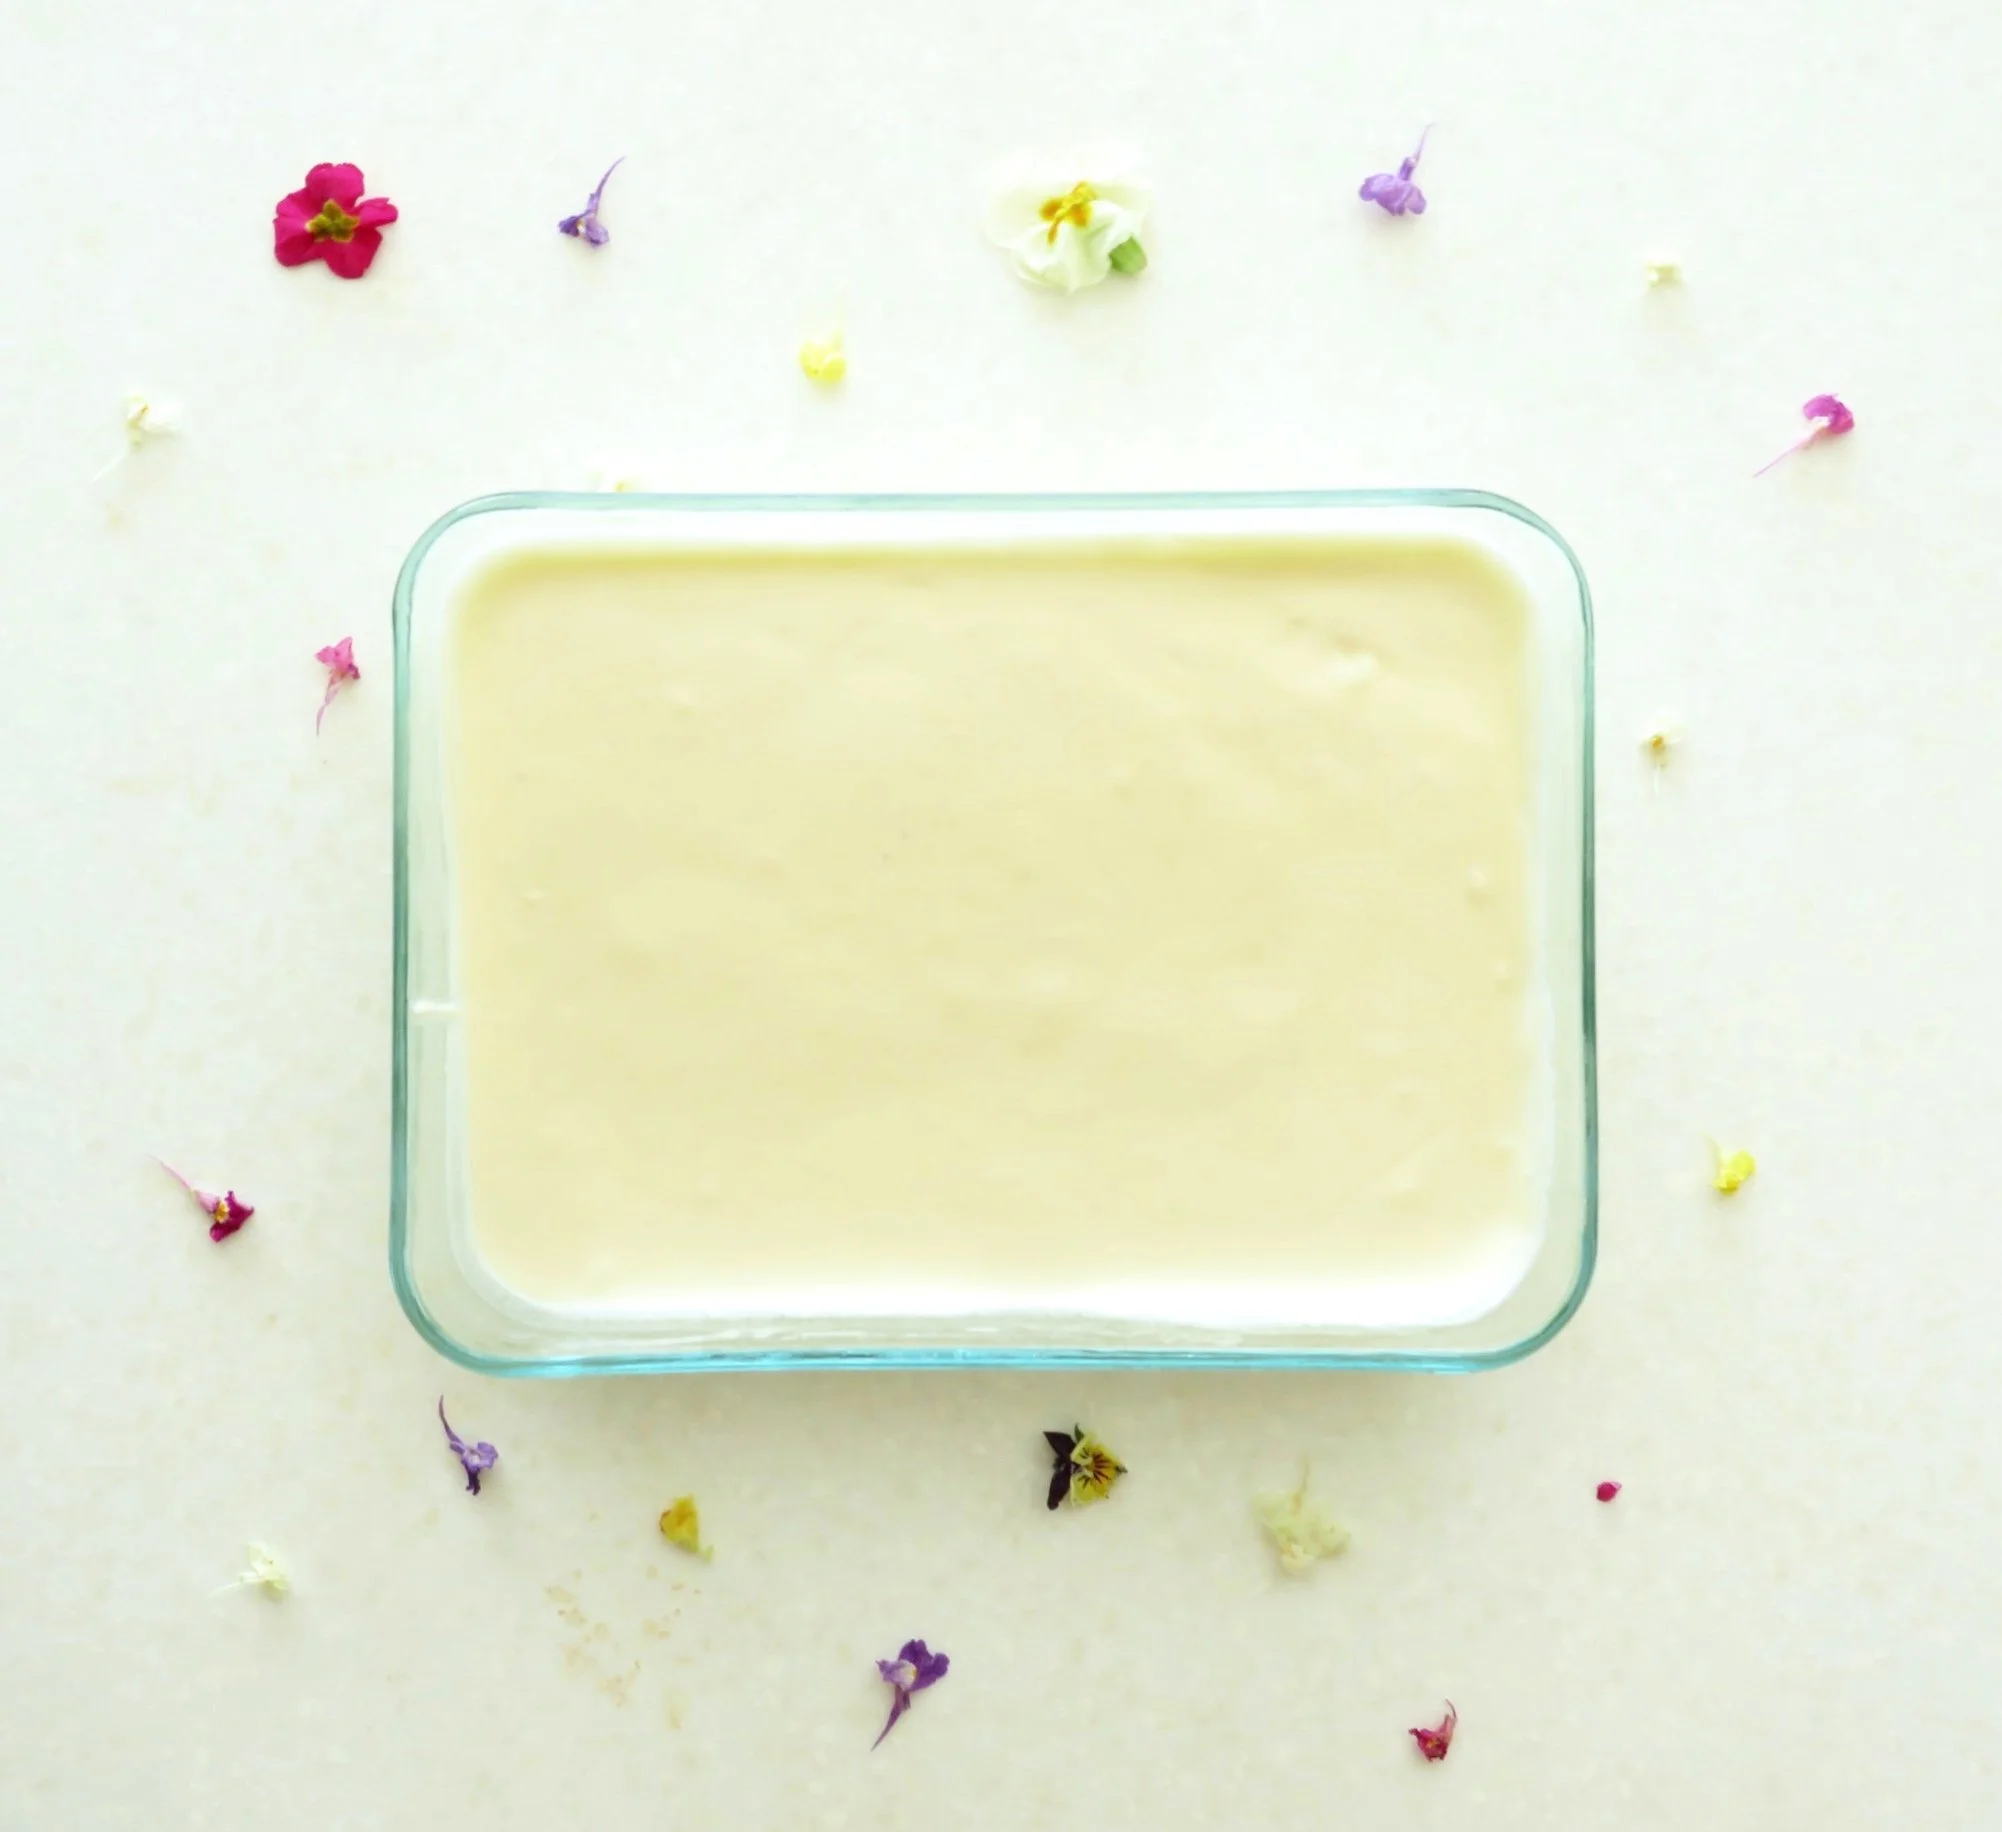
Pour ice cream mixture into a freezer-safe container, gently press some parchment paper against the surface of the ice cream (to prevent ice crystals from forming) and seal with lid. Freeze until firm, around 6 hours. If you prefer a soft serve consistency, freeze for around 4 hours before serving.
STORAGE: This ice cream can last for up to 2 months stored in an airtight sealed container in the freezer. I recommend placing some parchment paper against the surface of the ice cream before sealing your container, to prevent ice crystals from forming on top.

If you tried this recipe…
I’d love to know!
Please leave a comment below letting me know your thoughts on this homemade vanilla ice cream recipe :)
You Might Also Like to TRY THESE RECIPES NEXT!